How it works inside
No mystery and no magic. Here is the whole thing, in the order it happens.

1. Work out what is near and what is far
A monocular depth model (Depth Anything V2 Small, Apache-licensed) looks at your photograph and predicts a relative depth for every pixel. It runs on our own server, takes about half a second, and produces a greyscale image where white is close and black is far.
If you typed a word or picked a shape instead, we build that depth map directly - which is why those come out cleaner than photos. A hand-authored depth map has no noise in it.
We then smooth it. Sharp depth edges are the enemy here: they become discontinuities that the solver cannot resolve cleanly, and they show up as streaks.
2. Decide how wide one repeat should be
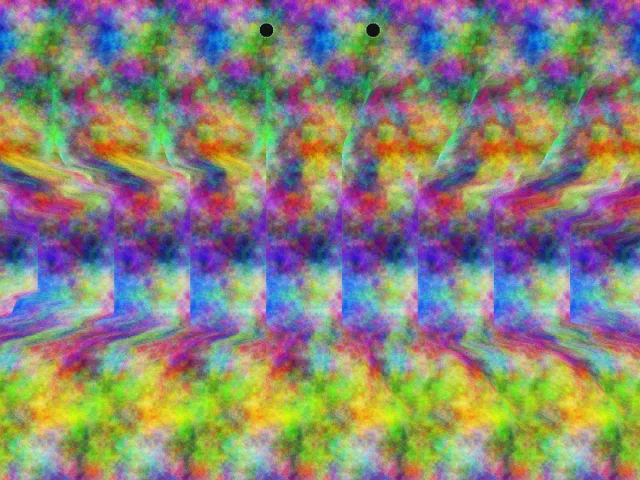
A stereogram works because your two eyes lock onto two different repeats of the same pattern. The distance between those repeats has to be comfortably less than the distance between your pupils, or your eyes cannot get there.
The geometry comes from the 1994 paper this is all built on. For a point at normalised depth z, the separation is
separation(z) = (1 - mu*z) * E / (2 - mu*z)
where E is the eye separation in pixels and mu is the depth of field. At the far plane this reduces to exactly E/2 - so the width of one pattern tile is always half the eye separation, and everything else follows from that one number.
3. Solve each row
For every scanline, the solver walks outward from the centre and, for each pixel, links it to the pixel one separation away: those two must end up the same colour, because that is what makes your eyes fuse them.
Conflicts happen constantly - a near object and a far one both want to claim the same pixel. Nearer surfaces produce shorter links, so the rule is simply that the shorter link wins, which is exactly equivalent to "near things hide far things" and costs nothing to check.
It works outward from the middle rather than from the left edge, because propagating in one direction piles up distortion and leaves the image visibly lopsided.
4. Paint the pattern in
Pixels that ended up unconstrained get fresh pattern; everything else copies from whatever it was linked to. Two small details do a lot of work here: the pattern is sampled from a slightly different row for each repeat across the image, which stops echo ghosts appearing at depth edges, and a lone unconstrained pixel between two constrained ones copies its neighbour rather than taking new pattern, because otherwise it is visible to one eye only and twinkles.
5. Anti-alias
Separations round to whole pixels, which puts a staircase along every depth edge. So the whole row is solved at four times the horizontal resolution and averaged back down. That single step is the biggest visible quality difference between a naive generator and a good one.
Why yours might not have worked
- Busy photo. If the depth model cannot find one dominant subject, the depth map is mush and so is the result. Turn Subject focus up.
- Too much depth. Past about 80 percent the near and far pattern widths differ so much that many people stop being able to fuse it at all.
- The image got resized. The repeat width is physical. Anything that scales the picture changes it. We always show at true size for this reason.
Read the originals
- Thimbleby, Inglis & Witten (1994), "Displaying 3D Images: Algorithms for Single-Image Random Dot Stereograms", IEEE Computer 27(10).
- W. A. Steer, "Stereograms - technical description", techmind.org.
- Yankelevsky, Shvartz, Avraham & Bruckstein (2016), on why 1/f noise is the easiest pattern to lock onto - which is why it is our default.